Step-by-Step Guide to Installing Custom Shelves
Installing custom shelves can be an effective way to maximize storage space and enhance the aesthetics of a room. This guide will provide you with a detailed, step-by-step process to help you install your custom shelves successfully.
Understanding the Basics
Custom shelving solutions are designed to meet specific storage needs while complementing the interior of your home. According to industry experts, these shelves can improve organization and accessibility, which may lead to a more functional living space. The principle behind custom shelving is to tailor the design and installation to the unique dimensions and requirements of your environment.

"Properly installed custom shelves not only offer storage solutions but also contribute to the overall design and functionality of your space." - Storage Solutions Expert
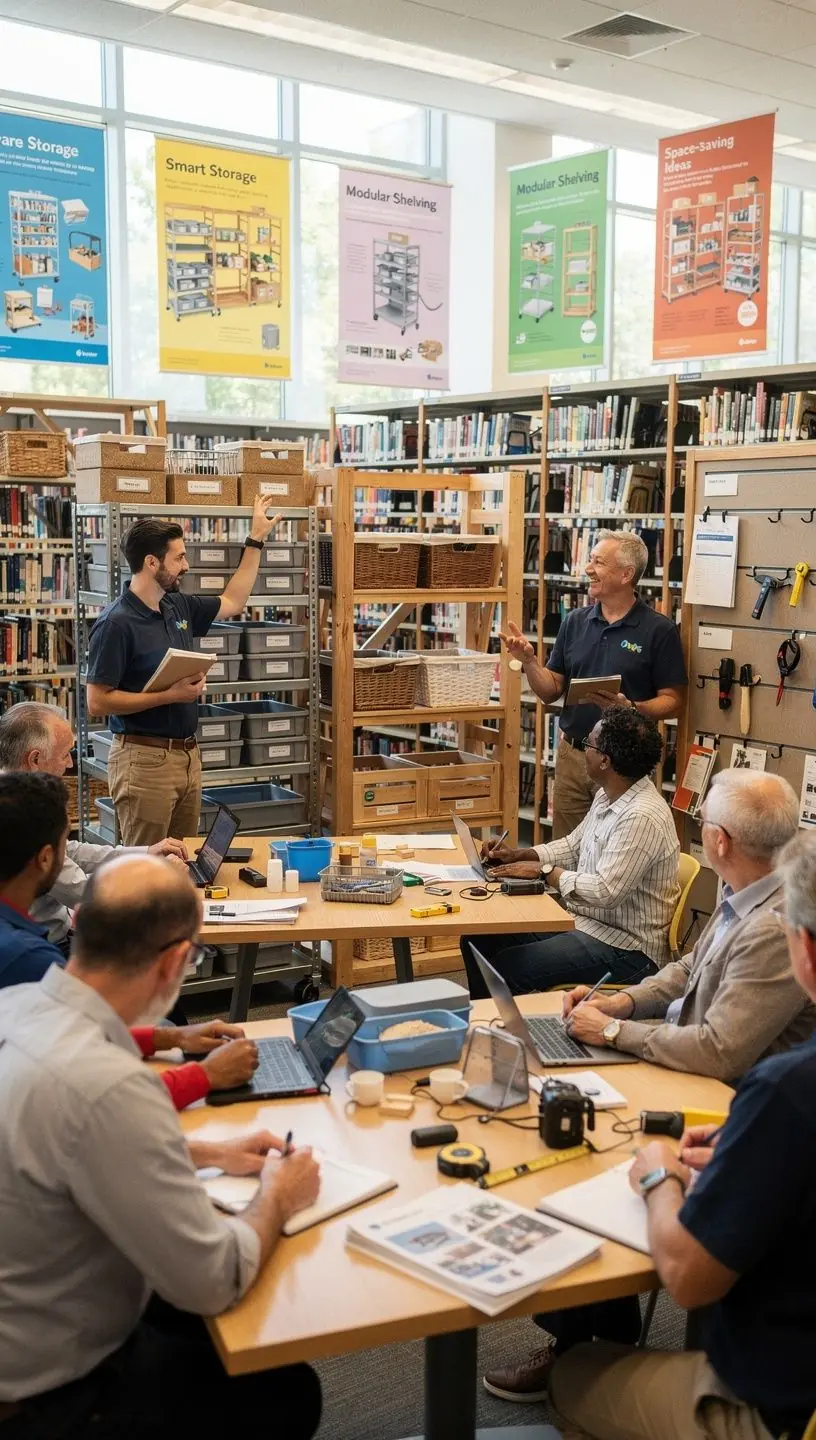
Materials You Will Need
Before you start the installation process, gather the following materials:
- Custom shelves: Ensure they are cut to your desired dimensions.
- Brackets: Choose brackets that can support the weight of the shelves.
- Drill and drill bits: A power drill will make the installation faster.
- Screws: Select appropriate screws based on the wall type.
- Level: A level will help ensure your shelves are straight.
- Stud finder: A stud finder can help locate wall studs for secure installation.
Step-by-Step Installation Process
- Planning the Layout: Measure the space where you want to install the shelves. Experts recommend sketching a layout to visualize the placement and spacing.
- Finding the Right Height: Decide how high you want your shelves to be. Consider the height of items you plan to store. This typically involves a bit of trial and error to ensure functionality.
- Locating Wall Studs: Use a stud finder to locate the wall studs. This is crucial because brackets should be anchored into the studs to provide stability.
- Marking Drill Points: Mark where you will drill holes for the brackets. Ensure they are level and evenly spaced.
- Drilling Holes: Using a power drill, carefully drill holes at the marked points. Take your time, as accuracy is important.
- Attaching Brackets: Secure the brackets to the wall using screws. Make sure they are tightly fastened and level.
- Placing Shelves: Once the brackets are secure, place your custom shelves on them. Double-check that everything is level before finalizing the installation.
Maintenance and Adjustments
After installation, it’s important to regularly check the stability of your shelves. Many users report that periodic adjustments may be necessary, especially if the shelves bear significant weight. Standard practice is to inspect them every few months to ensure they remain secure.
Conclusion
Installing custom shelves is a manageable project that can significantly enhance both storage efficiency and aesthetic appeal in your home. While the process requires careful planning and attention to detail, the results can be rewarding. Remember, if you're ever unsure about the installation, consulting with a professional can provide additional peace of mind and ensure a reliable outcome.
Learn More